Display Panel Storyboard

Storyboard Text
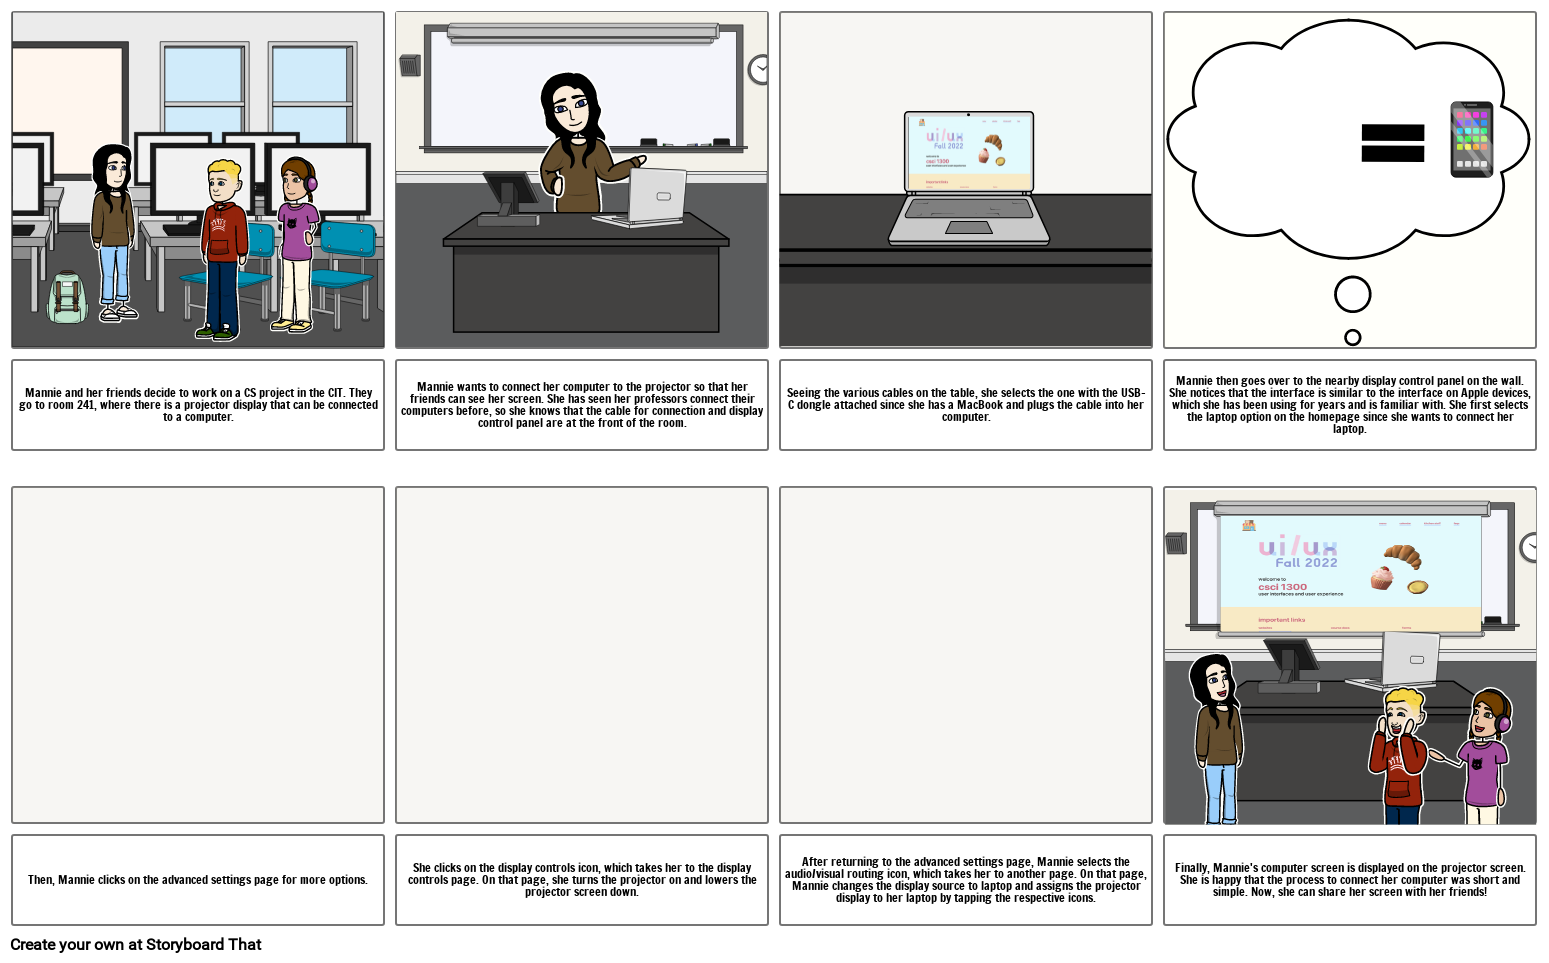
- Mannie and her friends decide to work on a CS project in the CIT. They go to room 241, where there is a projector display that can be connected to a computer.
- Mannie wants to connect her computer to the projector so that her friends can see her screen. She has seen her professors connect their computers before, so she knows that the cable for connection and display control panel are at the front of the room.
- Seeing the various cables on the table, she selects the one with the USB-C dongle attached since she has a MacBook and plugs the cable into her computer.
- Mannie then goes over to the nearby display control panel on the wall. She notices that the interface is similar to the interface on Apple devices, which she has been using for years and is familiar with. She first selects the laptop option on the homepage since she wants to connect her laptop.
- Then, Mannie clicks on the advanced settings page for more options.
- She clicks on the display controls icon, which takes her to the display controls page. On that page, she turns the projector on and lowers the projector screen down.
- After returning to the advanced settings page, Mannie selects the audio/visual routing icon, which takes her to another page. On that page, Mannie changes the display source to laptop and assigns the projector display to her laptop by tapping the respective icons.
- Finally, Mannie's computer screen is displayed on the projector screen. She is happy that the process to connect her computer was short and simple. Now, she can share her screen with her friends!
Over 30 Million Storyboards Created
No Downloads, No Credit Card, and No Login Needed to Try!
